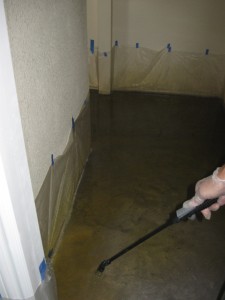
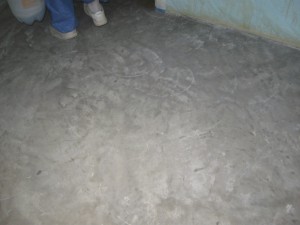
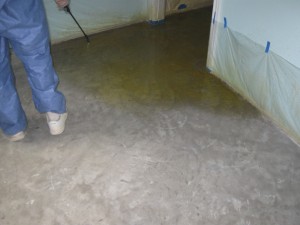
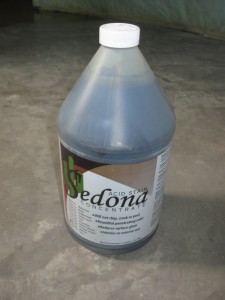
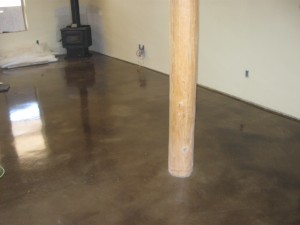
I’ll admit it… it took the wind out of our sails to have to scrub paint off of the entire floor surface of the house. We did it, though, and were very happy with the products we bought at thestampstore.com. This time, we tested a small area of the laundry room floor (the part where the washer and dryer will sit) before staining the entire house. After we did this, we were able to gauge how dark the stain would be and whether or not we had cleaned the floors of the paint (Valspar from Lowes) sufficiently to get a good result.
From this, we learned:
1) the stain at a 2:1 dilution rate was a bit too dark for our tastes (we ended up with 3:1 water/stain)
2) We had not cleaned the floors sufficently.
So… back to the buffer rental center we went again. We were getting very good at this process, so it went more smoothly the second time around. We also used a stainless steel scrub brush (bought in the paint dept. at Home Depot) for around the wall edges. Using more TSP (trisodium phosphate) solution, buffer, squeegee, shop vac and mop, we once again cleaned the entire floor. This time we were more satisfied with the amount of paint removal.
Using a simple nonmetal garden pump sprayer, we applied the acid stain over the floors and let it dry completely. After it dried well, we cleaned the acid residue from the floor by applying water (we tried using the pump sprayer, but found it took too long, so ended up dumping water and spreading out with the squeegee), then squeegeed and shop-vac’d. Repeated this until the water was clear.
Then, we used an ammonia solution to neutralize any remaining acid… again applied water to remove all residue and squeegeed and shop-vac’d.
We bought two different types of sealer (on recommendation from the guy at The Stamp Store). The first layer of sealer (the 2500) we applied (using respirator masks — this stuff really stinks) was fairly thin. It was sprayed on and then back-rolled for a nice smooth finish. After it was well dry, we applied the second type of sealer (the 3000), which was much thicker in the same way (again using respirator masks). After both sealer coats had dried well, we applied three coats of Cherry Wax with the 12″ Wooster Lambswool applicator and ended up with a pleasant smell and a very nice finish.
REVIEW of Lowe’s/Valspar regarding the fiasco with their “stain”: After letting the Valspar agents know of the difficulty we had because of the incorrect information given to us by the Carlsbad Lowe’s paint dept. personnel, they were very helpful. Lowes gave us a full refund of the cost of the stain/sealer products they sold us. In addition, Valspar sent us a $300 Lowe’s gift card to repay us for the cost of the rental equipment and cleaning products we had to buy to get the stuff off our floors. All in all, I have to give them a good review on their customer relations.
